
IDENTIFYING PROPER METHODS FOR VARIOUS SURFACE AND STRUCTURE TYPES
It’s important to identify the type of waterproofing required as per your project.
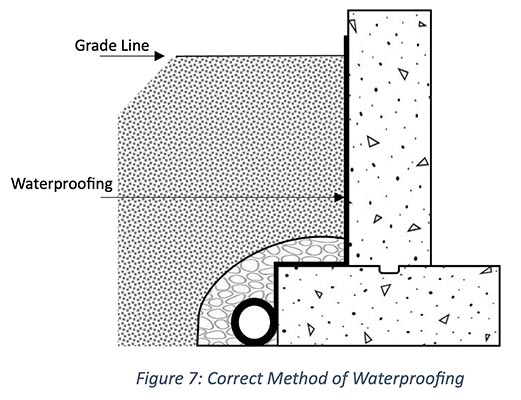
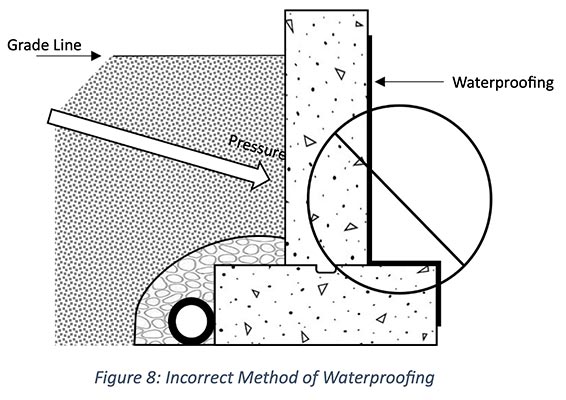
ALWAYS apply waterproofing to the positive hydro-static pressure affected side of the structure where the moisture load will be present.
DO NOT waterproof the negative pressure side of the structure.
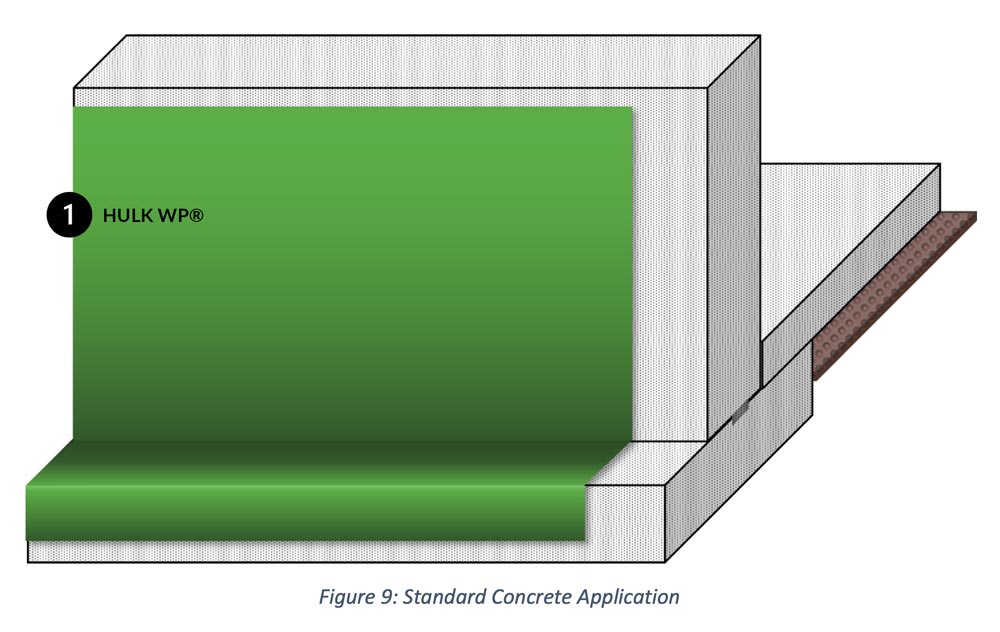
In Figure 9 above, we are looking at a standard concrete foundation application. Standard implies that this foundation has proper drainage, and the surrounding areas are sloped appropriately away, keeping the water table relatively low.
- Ensure that your foundation is prepared accordingly as per the above instructions pertaining to preparation.
- Ensure all tie holes, penetrations, voids, and cracks are filled with Hulk MASTIC®, in the methods described above.
- OPTION 1: Fluid Membrane only waterproofing – Follow the steps for installing Hulk WP® installed at 70 mil WFT above.
- OPTION 2: Composite waterproofing system – Follow the steps for installing Hulk WP® installed at 70 mil WFT above including the installation of Hulk SRT® immersed between coats.
Basic Composite System Installation Steps & Tricks
Step 0
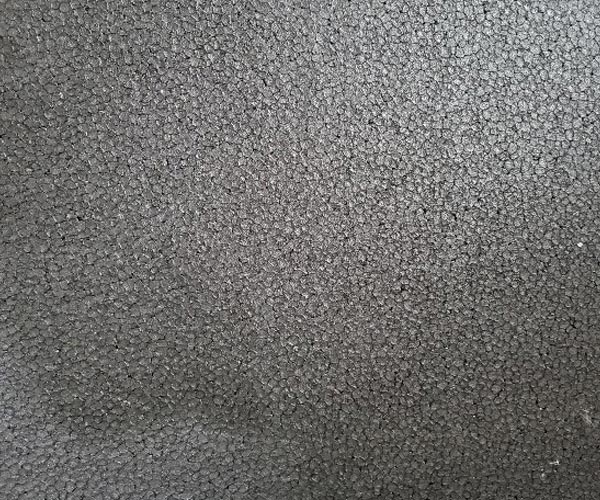
Make sure your foam surface is clean and free of debris, dust and other contaminants.
Step 1
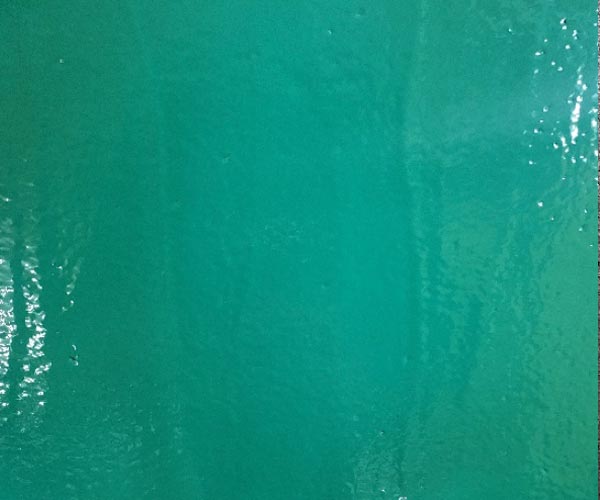
Apply a coat of Hulk WP at a rate of 35-40 mils wet. A good sign you’ve applied the correct amount of product, will be when it starts to sag (drip).
Step 2
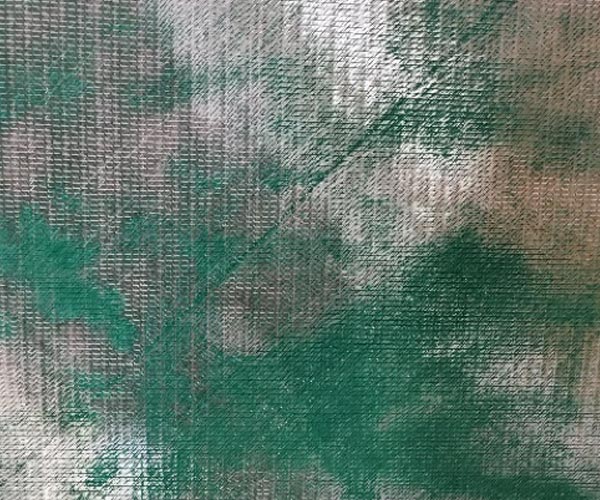
Immerse the Hulk SRT into the coating while still wet. Ensure there are no wrinkles in the fabric, and that you can see the coating starting to saturate through the textile.
Step 3
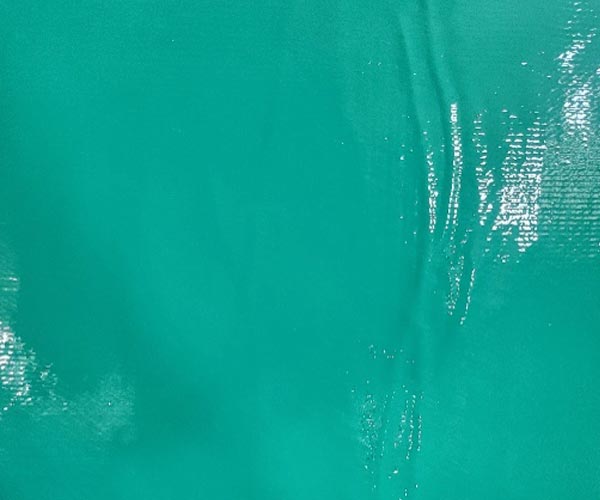
Immediately apply the topcoat of Hulk WP over the textile at a rate of 35-40 mils wet. A good sign you have applied enough product, is the pattern or texture of the fabric will no longer be visible.
Standard ICF Block Wall System
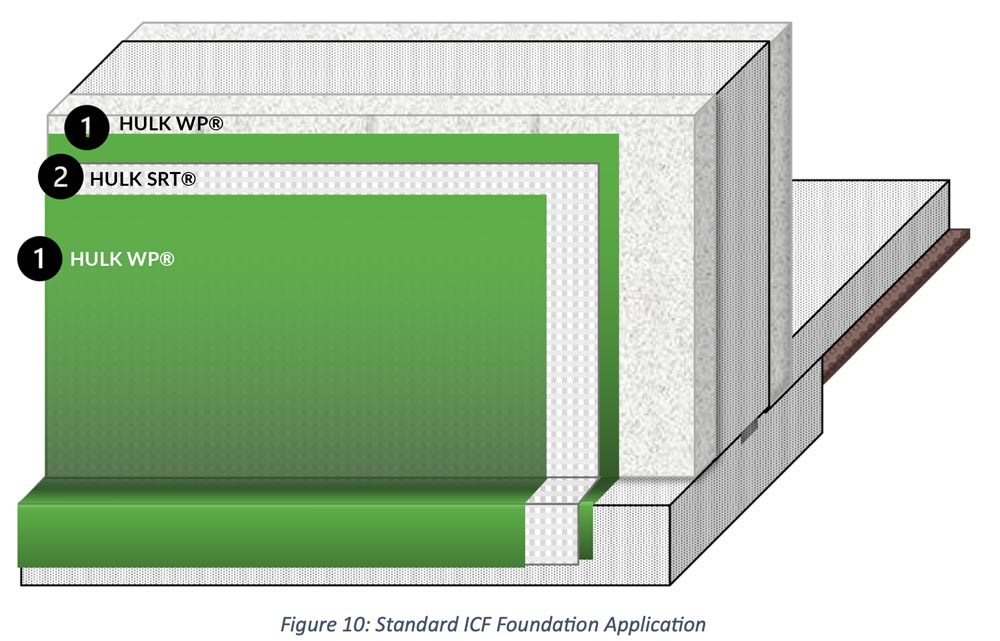
In Figure 10 above, we are looking at a standard ICF foundation application. Standard implies that this foundation has proper drainage, and the surrounding areas are sloped appropriately away, keeping the water table relatively low.
- Ensure that your foundation is prepared accordingly as per the above instructions pertaining to preparation.
- Follow the steps for installing HULK WP® installed at 70 mil WFT above including the installation of HULK SRT® immersed between coats.
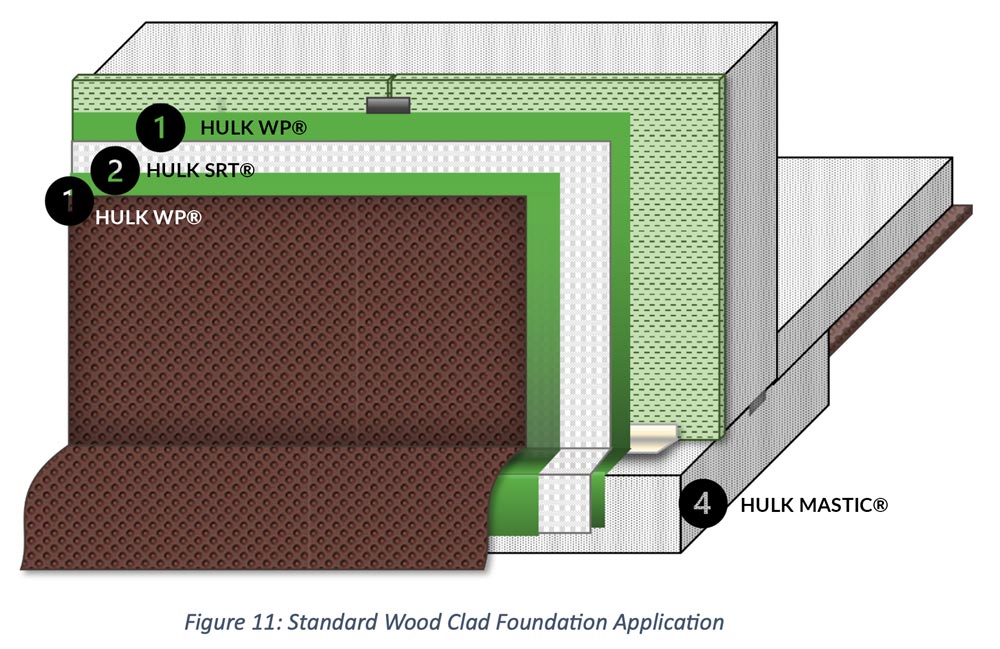
Standard Wood Clad (Shored) System
In Figure 11 above, we are looking at a standard wood clad foundation application. Standard implies that this foundation has proper drainage, and the surrounding areas are sloped appropriately away, keeping the water table relatively low.
- Ensure that your foundation is prepared accordingly as per the above instructions pertaining to preparation.
- Create a Hulk MASTIC® cove at the transition from footing to wood shoring.
- Follow the steps for installing Hulk WP® installed at 70 mil WFT above including the installation of Hulk SRT® immersed between coats.
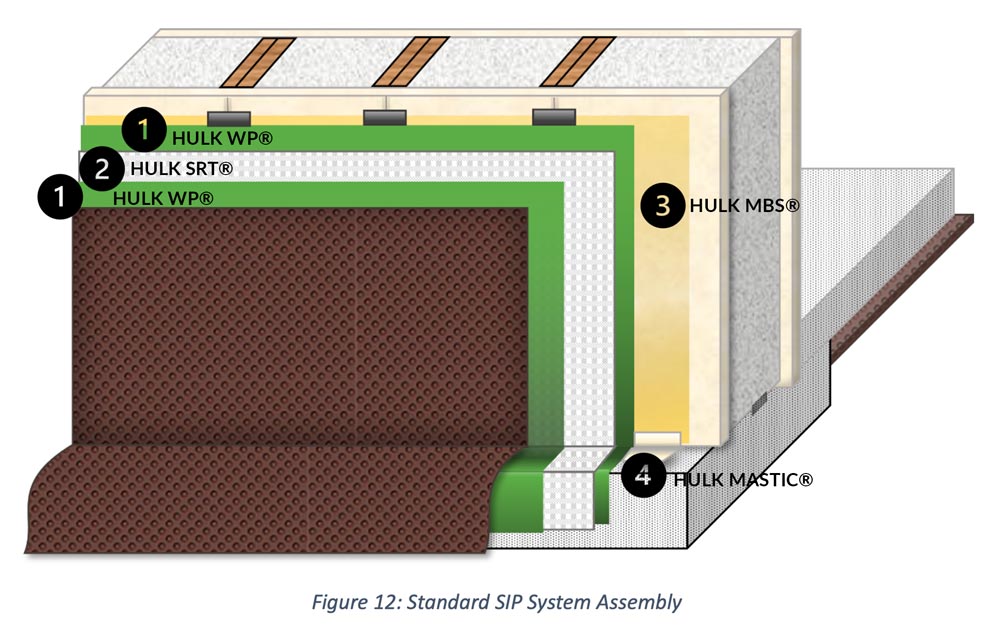
Standard SIP (Cement or Magnesium Board) System
In Figure 12 above, we are looking at a SIP assembled foundation application. Standard implies that this foundation has proper drainage, and the surrounding areas are sloped appropriately away, keeping the water table relatively low.
- Ensure that your foundation is prepared accordingly as per the above instructions pertaining to preparation.
- Seal all cementitious or magnesium board surface using Hulk MBS® following the instructions above.
- Create a Hulk MASTIC® cove at the transition from footing to wood shoring and overtop any seams and screw holes.
- Follow the steps for installing Hulk WP® installed at 70 mil WFT above including the installation of Hulk SRT® immersed between coats.
Waterproofing SIP Details (Further Reading)
BUILDING AN UNDERSTANDING OF SIP DETAIL WATERPROOFING & SIP CONSTRUCTION COMMON MISTAKES
PROBLEM 1 – The main industry challenge with SIP panels is the lack of an internal vapor barrier that would normally exist within a stick frame wall assembly. This makes each screw penetration, plate, and spline (joint) assembly, a vulnerable passageway for travelling vapor and air to move through. Air carried vapor is microscopic and uses air pressure and flow to move in and outside a building. When there is great enough air pressure and temperature differential, this moisture will always gravitate to the cold, usually the air-conditioned interior in a hotter climate, and the environmental exterior of a colder climate. Make no mistake, it will find the smallest of deficiencies to either escape or enter a building.
PROBLEM 2 – This transference of vapor from the positive side to the negative pressure side causes a buildup of moisture in both spline material (commonly wood) and behind the finishing system (interior mud and paint / exterior stucco), leading to cracks and delamination along these joints, resulting in what can be catastrophic failures.
SOLUTION – The solution is simply to not under-build the most vital connections which are the splines (joints) and plates (floor, roof, window, door). Always insist that your panel manufacturer is processing the panels to the proper specification, and not cutting out vital components.
- If possible, use fiber glass for spline material. If fiber glass is not available than try and source composite, metal or LVL. If the only material available is common dimensional lumber, then make sure you treat it correctly (see details below). Dimensional lumber absorbs moisture, and when it does it expands and contracts, which can cause twisting of the wood, delamination to the panels, cracking of the panel boards and finish systems (like interior paint & drywall mud, or exterior stucco).
- Eliminate the use of adhesives within the spline and plate assemblies such as wood glue and spray foam as much as possible as adhesives don’t stop vapor transfer. Replace wherever possible with sealants instead such as caulking’s. Caulking beads should have triple protection (3 beads) run on the face of the spline and plate materials. This is because caulking can be disturbed or shrink, and a break can occur in a bead. The other 2 beads are extra lines of defense against moisture.
- Ensure that ALL pathways that water can travel have been properly sealed within the assembly. Some of this can be done during processing of the panels, and some of it needs to be done onsite. Using rubberized mastic within the wall assembly, that dries and acts like a gasket, is the ultimate protective barrier that can be added which protects both the entire face of your plate and spline material against water absorption as well as blocking the moisture from travelling from either side of the wall.
- Incorporate the use proper SIP tapes available. These are impermeable to water transmission and are designed to span both the joints and screw holes, coming in a variety of widths including 16” rolls for bottom, roof, window and door plates.
- Incorporate the use of water impermeable drywall compound friendly tapes wherever possible as well. This keeps air-borne moisture from passing from the interior of the structure outward.